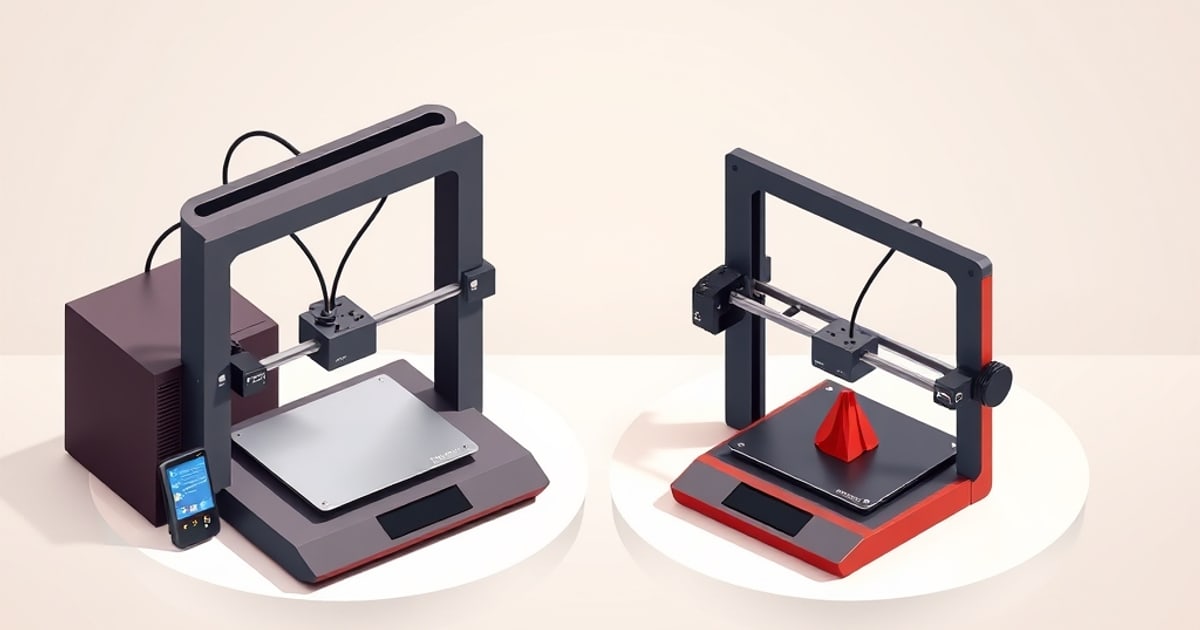
The Bambu Lab A1 mini’s print bed is 180 × 180 mm with 180 mm of print height (7.1 in on each axis). The full-size A1’s bed is 256 × 256 mm with 256 mm of height. The mini itself measures 347 × 315 × 365 mm and weighs 5.5 kg.
It is an open-frame printer for small parts, with automatic calibration and optional four-color printing through the AMS lite. Its main buying constraint is that 180 mm cube. Choose it when your models fit that space and your main materials are PLA or PETG; consider a larger or enclosed machine when those requirements change.
This review evaluates Bambu Lab’s published specifications, reseller listings that reproduce them, and software documentation. The editorial score reflects suitability for that compact-printer use case. It is not an owner-rating average, a print-quality measurement or a reliability study.
A1 mini Bed Size and Print Area
Every axis of the A1 mini’s printable space is 180 mm, as listed on the A1 mini specification sheet. The table converts that figure into the units buyers usually compare (1 in = 25.4 mm).
| Measure | Metric | Imperial |
|---|---|---|
| Bed width (X) | 180 mm | 7.09 in |
| Bed depth (Y) | 180 mm | 7.09 in |
| Maximum print height (Z) | 180 mm | 7.09 in |
| Plate area | 324 cm² | 50.2 in² |
| Build volume | 5.83 L | 356 in³ |
| Plate diagonal | about 254.6 mm | about 10.0 in |
The printer ships with a Bambu Textured PEI Plate, and a Smooth PEI plate is listed as an optional surface on Plex Robotics’ A1 mini specification listing. The plate heats to 80°C at most.
A part has to fit inside the cube on all three axes at once, in the orientation you print it. A 200 mm vase will not fit even though its base is small, and laying it on its side only moves the 200 mm onto the bed. The diagonal is the one geometric allowance: a slender part such as a rod or ruler can exceed 180 mm when turned 45 degrees, but its width eats into that length. Confirm the placement in the slicer rather than relying on the 254 mm figure.
A1 mini vs A1 Bed Size
Searches for “A1 bed size” often mean the full-size A1, which is a different printer. The A1 has a 256 × 256 mm bed with 256 mm of print height, and its bed heats to 100°C against the mini’s 80°C, according to Filament2Print’s A1 series specifications.
| A1 mini | A1 | |
|---|---|---|
| Bed size | 180 × 180 mm (7.1 × 7.1 in) | 256 × 256 mm (10.1 × 10.1 in) |
| Maximum print height | 180 mm (7.1 in) | 256 mm (10.1 in) |
| Plate area | 324 cm² | 655 cm² |
| Build volume | 5.83 L | 16.78 L |
| Maximum bed temperature | 80°C | 100°C |
If your recurring models exceed 180 mm on any axis, the size question is settled before speed, price or features come into it. The A1 vs A1 mini comparison covers footprint, frame design and the AMS lite trade-offs between the two machines.
A1 mini Dimensions, Weight and Box Size
The A1 mini measures 347 × 315 × 365 mm (13.7 × 12.4 × 14.4 in) and weighs 5.5 kg (12.1 lb) unpacked. Boxed, it ships at 385 × 430 × 460 mm and 8.2 kg, the package figures given on Plex Robotics’ listing and Ultimate 3D Printing Store’s A1 mini page.
| Item | Dimensions | Weight |
|---|---|---|
| A1 mini printer | 347 × 315 × 365 mm (13.7 × 12.4 × 14.4 in) | 5.5 kg (12.1 lb) net |
| A1 mini shipping box | 385 × 430 × 460 mm (15.2 × 16.9 × 18.1 in) | 8.2 kg (18.1 lb) gross |
| A1 mini Combo shipping box | 385 × 430 × 495 mm (15.2 × 16.9 × 19.5 in) | 10.2 kg (22.5 lb) gross, AMS lite included |
| AMS lite unit | 397 × 208 × 342 mm (15.6 × 8.2 × 13.5 in) | 1.6 kg (3.5 lb) |
The AMS lite figures come from GigaParts’ A1 mini Combo listing. For a Combo, plan the desk for two objects: the printer and a spool unit slightly wider than the printer itself.
The bed moves along Y, the toolhead travels along X, and the gantry rises along Z. Allow space for that bed movement, the spool and cable routing beyond the listed machine dimensions. The bed sizes and desk footprints reference compares the mini with larger Bambu machines.
A1 mini Specifications
| Specification | Published value |
|---|---|
| Build volume | 180 × 180 × 180 mm (7.1 × 7.1 × 7.1 in) |
| Motion system | Open-frame Cartesian bed-slinger |
| Maximum toolhead speed | 500 mm/s |
| Maximum acceleration | 10,000 mm/s² |
| Hot end | All-metal |
| Maximum nozzle temperature | 300°C |
| Maximum bed temperature | 80°C |
| Included nozzle | 0.4 mm stainless steel |
| Optional nozzle sizes | 0.2, 0.6 and 0.8 mm |
| Filament diameter | 1.75 mm |
| Included build plate | Bambu Textured PEI Plate |
| Display | 2.4-inch IPS touchscreen |
| Sensors | Filament runout, filament odometry, filament tangle, power-loss recovery |
| Camera | Low-rate camera, up to 1080p, with timelapse support |
| Listed noise | Under 48 dB in silent mode |
| Machine dimensions | 347 × 315 × 365 mm |
| Net weight | 5.5 kg |
| Power input | 100-240 VAC, 50/60 Hz |
| Maximum rated power | 150 W |
| Multi-color option | One AMS lite, four slots |
The core limits are manufacturer figures from the A1 mini specification sheet. Nozzle options, plate, sensors, camera resolution and the noise rating are as reproduced on Plex Robotics’ listing; the power input and IPS panel come from 3DJake’s A1 mini page, and the 1.75 mm filament diameter from Filament2Print’s A1 mini specifications. None of these figures establish sustained printing speed, electrical consumption per job or dimensional accuracy.
The nozzle sizes guide explains when swapping the stock 0.4 mm nozzle for a 0.2 mm or 0.6 mm one is worth it.
Price is not a specification, and it moves with sales. On October 9, 2026, Ultimate 3D Printing Store listed the A1 mini at $219 against a $299 regular price, and the Combo at $329. The cheapest Bambu Lab printer roundup compares prices across the lineup.
How to Check Whether a Model Fits the A1 mini Bed
Settle a fit question in the slicer, not on the product page. Use this sequence when a downloaded or designed part is close to 180 mm on any axis:
- In Bambu Studio, select the A1 mini printer profile and the installed nozzle before importing, so the plate on screen is the mini’s 180 mm plate.
- Import the model with File > Import or by dragging the STL onto the plate.
- Compare the part’s X, Y and Z size with 180 mm. A part over the limit on one axis may fit after reorientation, as long as its other dimensions allow it.
- For a long, slender part, rotate it 45 degrees around Z to use the plate diagonal.
- If it still does not fit, select the part, open the Cut tool (shortcut C), drag the cut plane or type its position, add connectors if your version offers them, and click Perform Cut.
- Arrange the pieces (shortcut A), slice, and inspect the preview before sending the job. Pieces that do not fit on one plate together can be printed as separate jobs.
The Cut tool steps and shortcuts follow SpliceSTL’s Bambu Studio cut guide. Splitting adds seams, alignment work and glue, so if this procedure becomes routine, that is the clearest sign you need the 256 mm A1 rather than the mini.
What the Speed and Calibration Features Mean
Bambu documents automatic bed leveling, vibration compensation and flow dynamics calibration. Those features reduce the number of setup adjustments a new owner has to manage. They do not remove the need to choose the correct printer, nozzle, plate and filament presets.
A 500 mm/s motion limit is not a promised speed for every wall or layer. The model geometry, acceleration, cooling, layer height and filament’s volumetric flow setting all affect the sliced job. Compare the estimated time for your own model at a suitable quality preset before treating a headline speed as a buying advantage.
The useful distinction is between a documented feature and its outcome on a particular print. Automatic calibration is present; a guaranteed success rate or tolerance is not established by the specification sheet. For setup problems, the first-layer calibration guide explains the checks to make before changing several settings at once.
Material Limits and the Open Frame
Bambu’s specification sheet lists PLA, PETG, TPU and PVA as suitable material families, while discouraging ABS, ASA, PC, PA, PET and fiber-reinforced polymers. Check the current compatibility guidance for the exact filament grade, nozzle and feeding system before loading a specialty spool.
The 300°C nozzle rating does not make this an enclosed engineering-material printer. The bed stops at 80°C and there is no heated chamber. A different plate or hardened nozzle changes only part of that material compatibility decision.
For PLA and PETG, select the matching material and build-plate profiles. For flexible TPU, check the product’s feeding restrictions: suitability for the printer’s extruder does not imply suitability for the AMS lite. The filament settings guide separates temperatures, flow and feeding considerations.
If ABS or ASA is a regular requirement, compare enclosed options in P1S vs X1 Carbon before buying the mini. Do not infer enclosure compatibility from its nozzle temperature alone.
AMS lite: Four Colors and Spool Storage
The AMS lite product documentation describes four spool positions and automatic filament switching for the A1 series. It is a separate product from the enclosed AMS used with P1 and X1 machines; match accessories to the printer rather than relying on the shared AMS name.
Multi-color jobs use one nozzle, so filament transitions require flushing. In Bambu Studio, inspect the color assignments, number of changes and estimated material use before sending the job. The AMS multicolor guide covers that workflow in more detail.
The spool holders are open to room air. The AMS lite is therefore not sealed filament storage or an active dryer. Keep moisture-sensitive spools according to the filament manufacturer’s storage guidance and check feeding compatibility separately. No fixed number of hours in open air guarantees that a spool will remain dry.
Spool size is a separate check. GigaParts’ AMS lite specifications list support for spools 40 to 68 mm wide with a 53 to 58 mm inner diameter, so measure unusual or oversized spools before planning to load them.
Standalone and Combo packages should be compared using the current total for the same accessories. Do not buy the bundle solely for occasional color accents without first looking at the sliced waste and time estimates for the models you intend to make.
Slicer Integration: Bambu Studio and OrcaSlicer
Bambu Studio provides the manufacturer’s printer presets, plate selection, filament assignment and device interface. For an AMS lite job, start with the A1 mini profile and installed nozzle, choose the physical plate, assign each model color to a loaded filament, then inspect the sliced preview.
The preview matters even for a downloaded project: its saved printer or nozzle may differ from yours. A project that opens successfully still needs to be sliced for the machine that will print it.
OrcaSlicer shares Bambu Studio’s ancestry and offers documented temperature, flow-rate, pressure-advance and retraction calibration tools. Its Bambu networking plugin is optional and uses Bambu’s non-free libraries. Slicing and printer connectivity are separate capabilities, so verify device support against the installed firmware and software versions.
Use the SoftFever Bambu Studio and OrcaSlicer comparison when choosing between those workflows. Record which calibration controls you changed; do not assume that a manual flow-ratio result and the printer’s flow-dynamics calibration are the same parameter.
Camera, Local Printing and Troubleshooting
The specification sheet describes a low-rate camera with timelapse support. That is useful context when comparing monitoring features: it does not establish automatic failure detection or guarantee that a remote image will reveal a fault immediately.
Bambu documents LAN Only Mode for local operation. Check the model-specific restrictions before relying on app access or remote functions; local printing and cloud features have different requirements.
For poor adhesion, confirm plate cleanliness and the selected plate preset using the build-plate guide. For interrupted extrusion, follow nozzle clog diagnosis and inspect the filament path. If switching fails only through the accessory, use the AMS troubleshooting guide and follow its AMS lite distinctions.
Who Should Choose the A1 mini?
Choose the mini for small PLA/PETG models when its dimensions, bed-temperature limit and four-slot multi-color option fit your requirements. Choose the larger A1 when your models need more than 180 mm on an axis or more plate area for arranging parts. The A1 vs A1 mini comparison covers that decision without treating equal motion ratings as proof of equal output.
Editorial score: 4.5/5 for compact PLA/PETG use, based on published specifications. Automatic calibration and AMS lite support strengthen that use case; the small build volume, 80°C bed and open frame are the main limits. The score makes no claim about measured surface finish or long-term failure rates.
For a first purchase, start with the best Bambu Lab printer for beginners. For alternatives across manufacturers, use the Bambu vs Prusa vs Creality framework.
FAQ
is the a1 mini bed big enough for most prints?
For small functional parts, organizers, toys and miniatures, usually yes: anything up to 180 mm on every axis prints in one piece. The limit shows with helmets, large enclosures and long brackets, which must be split or rotated. If more than one of your planned models exceeds 180 mm, the 256 mm A1 is the better fit.
can the a1 mini print something bigger than 180 mm?
Not along a single axis: 180 mm is the limit in X, Y and Z. A slender part can exceed 180 mm by lying along the plate’s 254 mm diagonal, depending on its width. Larger models need to be cut into pieces in Bambu Studio and joined after printing, or moved to a 256 mm printer.
how much desk space does the a1 mini need?
More than its 347 × 315 mm base. The bed slides front to back while printing, so leave clear space in front of and behind the machine, plus room for the spool. A Combo adds the AMS lite, a separate 397 × 208 × 342 mm unit, so measure the desk for two objects, not one.
can the a1 mini print abs or asa?
It is not recommended. Bambu’s specifications list ABS, ASA, PC, PA, PET and fiber-reinforced filaments as not recommended for the A1 mini, whose bed tops out at 80°C and whose frame is open to room air. Its suitable materials are PLA, PETG, TPU and PVA. For regular ABS or ASA work, choose an enclosed printer.
what nozzle sizes does the a1 mini support?
The A1 mini ships with a 0.4 mm stainless steel nozzle, and 0.2 mm, 0.6 mm and 0.8 mm nozzles are listed as options. Smaller nozzles trade speed for finer detail; larger ones lay down more plastic per pass. Select the installed nozzle size in the slicer before printing, or the profile will not match the hardware.